
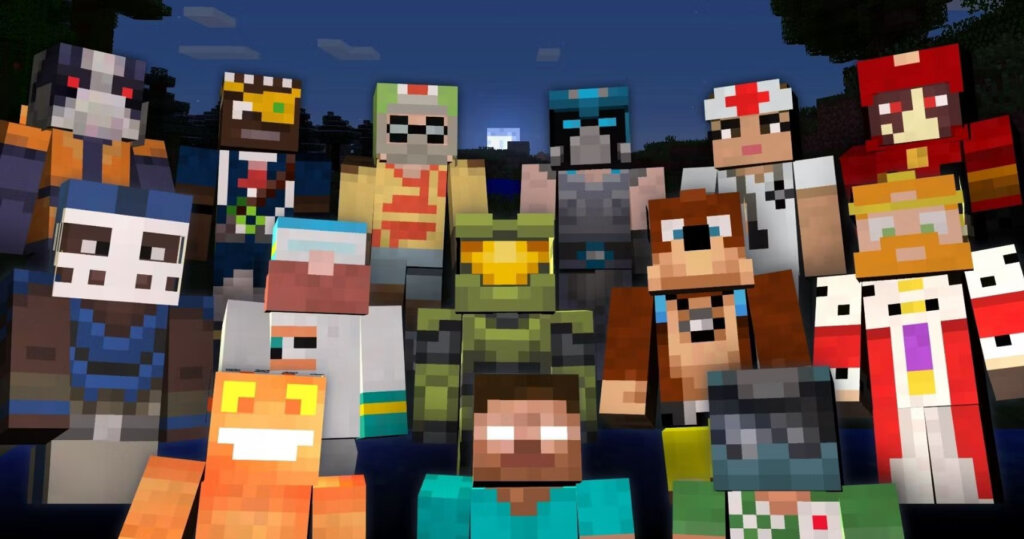
Knowing how to change your Minecraft skin is like unlocking a new level of personalization, allowing you to fully immerse yourself in the world of blocks and adventures. Whether you aim to conquer the Nether, face the Ender Dragon, or dominate in PvP battles, having a character that reflects your style or mood enhances the experience. Minecraft doesn’t just offer a creative playground for your constructions but extends this creativity to your very own avatar. From sleek and smart designs to spooky or adorable aesthetics—or even transforming into a crocodile—the possibilities are endless. Fortunately, changing your Minecraft skin is simpler than finding a golden apple. This guide will walk you through the straightforward steps for altering your avatar across different versions of the game, ensuring you stand out in any Minecraft crowd.
How to Change a Skin in Minecraft Bedrock Edition
Changing your skin in Minecraft Bedrock Edition adds a personalized touch to your gameplay, whether you’re playing on PC, Mac, or Linux. Here’s how you can either select a preset skin or upload a custom one:
- Choosing Your Skin: If you prefer a custom skin, start by downloading your favorite from sites like Minecraft Skindex or NovaSkins. If you’re happy with the preset options, you can skip this step.
- Accessing the Dressing Room: Launch Minecraft and click on ‘Dressing Room’ located below your character on the home screen.
- Navigating Skin Options: Inside the Dressing Room, click the Classic Skins icon (represented by a green coat hanger) for standard skins. If you’re looking to buy outfits and accessories, select the Character Creator icon.
- Applying Preset Skins: For preset skins, simply choose one and click ‘Equip.’ If you want to browse more options, click ‘Get More Skins’ to access the store.
- Uploading a Custom Skin: To use a custom skin, click the gray figure under ‘Owned Skins’ and then ‘Choose New Skin.’ Navigate to where you saved your downloaded skin file, select it, and confirm.
- Managing and Switching Skins: Once uploaded, your custom skin will appear under ‘Owned Skins’ in the Character Editor, making it easy to switch skins anytime.
- Confirming Your New Look: Return to the start screen to see your new avatar. You can always go back to the Dressing Room to change your appearance as often as you like.
By following these steps, you can ensure your Minecraft character always matches your gaming style and mood, making each session uniquely yours.
How to Change a Skin in Minecraft Java Edition

Changing your Minecraft skin in the Java Edition lets you express your individuality in the game’s vast worlds. Unlike the Bedrock Edition, skins in Java Edition are changed through the official Minecraft website. Here’s how you can update your avatar:
- Downloading a Skin: Begin by choosing a custom skin. Websites like Minecraft Skindex or NameMC offer a wide variety of options that you can download to your computer.
- Accessing the Minecraft Website: Open your web browser and go to Minecraft.net. Log in to your Minecraft account where your current game details are registered.
- Navigating to Skin Settings: Once logged in, select ‘My Game’ from the menu. Under Minecraft Java Edition, you’ll find an option titled ‘Change Skin’. Click on this to proceed.
- Uploading Your New Skin: In the ‘Change Skin’ section, you’ll first choose a model type (classic or slim) depending on the skin file you’ve downloaded. Click ‘Select File’ to upload the skin file from your computer and then press ‘Upload’ to apply the skin.
- Applying the Skin: After uploading, the skin is set to automatically update in your game. The next time you launch Minecraft Java Edition, your character will sport a new look.
- Changing or Resetting Skins: If you decide to switch back or try a different skin, simply return to the ‘Change Skin’ section on the Minecraft website and repeat the process, or use the ‘Reset Skin’ option to revert to the default.
With these steps, you can keep your Minecraft persona fresh and exciting, reflecting your style or mood as you delve into the endless possibilities of Minecraft Java Edition.
How to Change Your Skin on Minecraft PE (Pocket Edition)

Customizing your character in Minecraft Pocket Edition (PE) can make your mobile gaming experience even more engaging. Here’s how to update your skin on the go:
- Downloading Your Skin: Start by visiting a Minecraft skin website on your mobile device and download the skin you want to use.
- Opening the App: Launch the Minecraft PE app on your device and tap the ‘Dressing Room’ button on the home screen.
- Navigating to Skin Options: Tap on the three horizontal bars in the top left corner, then select ‘Classic Skins.’
- Applying Your Skin: In the ‘Owned’ section, tap the gray skin icon. Choose ‘Choose new skin’ and select the downloaded skin file from your device.
- Confirming the Change: Once selected, your new skin will be applied to your character. You can switch back to the Dressing Room to change it anytime.
Also Read: How To Get The Dragon Egg In Minecraft
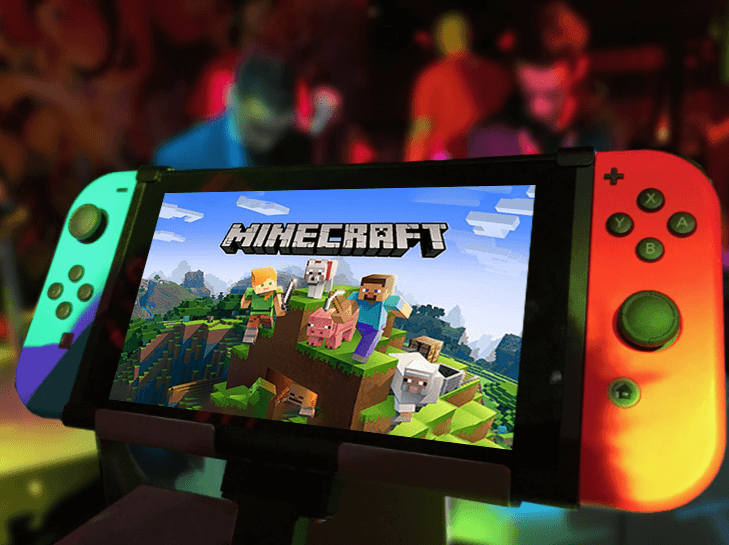
How to Change Your Skin on a Game Console

Changing your skin in Minecraft on a game console provides a similar experience to Minecraft PE, with just a few adjustments for different device interfaces:
- Downloading Your Skin: Use your console’s internet browser to download a custom skin from a Minecraft skin website or select one from the in-game store.
- Accessing the Dressing Room: Start Minecraft and navigate to the ‘Dressing Room’ from the main menu.
- Navigating the Menu: Use your console controller to navigate. For example, on a PlayStation, press ‘Options’ to open the sidebar menu.
- Selecting and Applying Skins: Go to ‘Classic Skins,’ find the ‘Owned’ section, and then select the gray skin icon. Choose ‘Choose new skin’ and select your skin file. Confirm your choice to see your character in a new look.
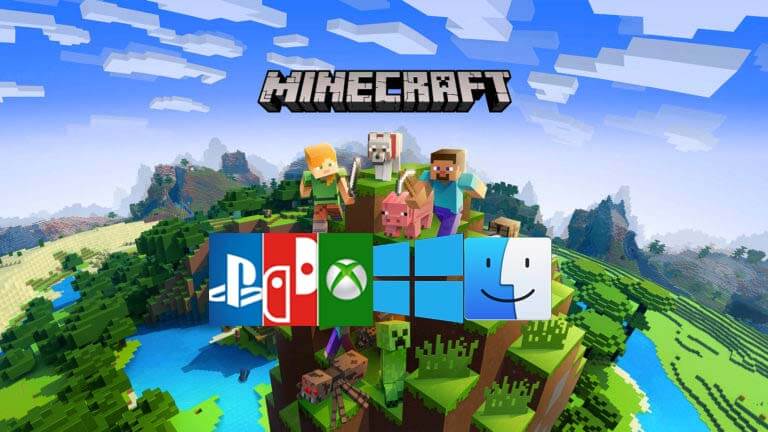
By following these steps, you can personalize your gameplay experience on different platforms, ensuring that your character always looks just the way you want, whether you’re building, exploring, or battling in Minecraft’s expansive worlds.
Conclusion
Mastering how to change your Minecraft skin opens up a new dimension of personalization, allowing you to express yourself in this expansive virtual world. Whether you prefer a heroic, quirky, or unique appearance, switching skins is an easy and fun way to enhance your gaming experience. Remember, the perfect skin can make every mining expedition or building project feel even more special. So go ahead, choose a skin that best represents you or your mood today, and step into your Minecraft adventures with a fresh look!
FAQs
Q: Can I use any image as a Minecraft skin?
A: No, Minecraft skins need to be in a specific format (usually a PNG) and dimension to work properly. It’s best to download skins from reputable Minecraft skin websites.
Q: Is changing skins in Minecraft free?
A: Yes, changing skins can be free if you download free skins or create your own. However, there are also paid skins available in the Minecraft store.
Q: How often can I change my Minecraft skin?
A: You can change your skin as often as you like! There are no restrictions on how frequently you can switch skins.
Q: Can other players see my custom skin?
A: Yes, if you are playing on a multiplayer server or realm, other players can see your custom skin, assuming they have the default settings enabled.
Q: What should I do if my new skin isn’t showing up in the game?
A: Make sure you’ve followed all the steps correctly for your specific platform. Sometimes, you might need to restart the game for the changes to take effect.
One thought on “How to Change Minecraft Skin”